Checkboxes in React 16
How do you use checkboxes in React.js? We've learnt about radio buttons in this tutorial, but what about checkboxes - do you use them differently in React?
The short answer is: yes.
Let me demonstrate how to use checkboxes with the help of a simple React application:
You can find the full source code in this GitHub repository.
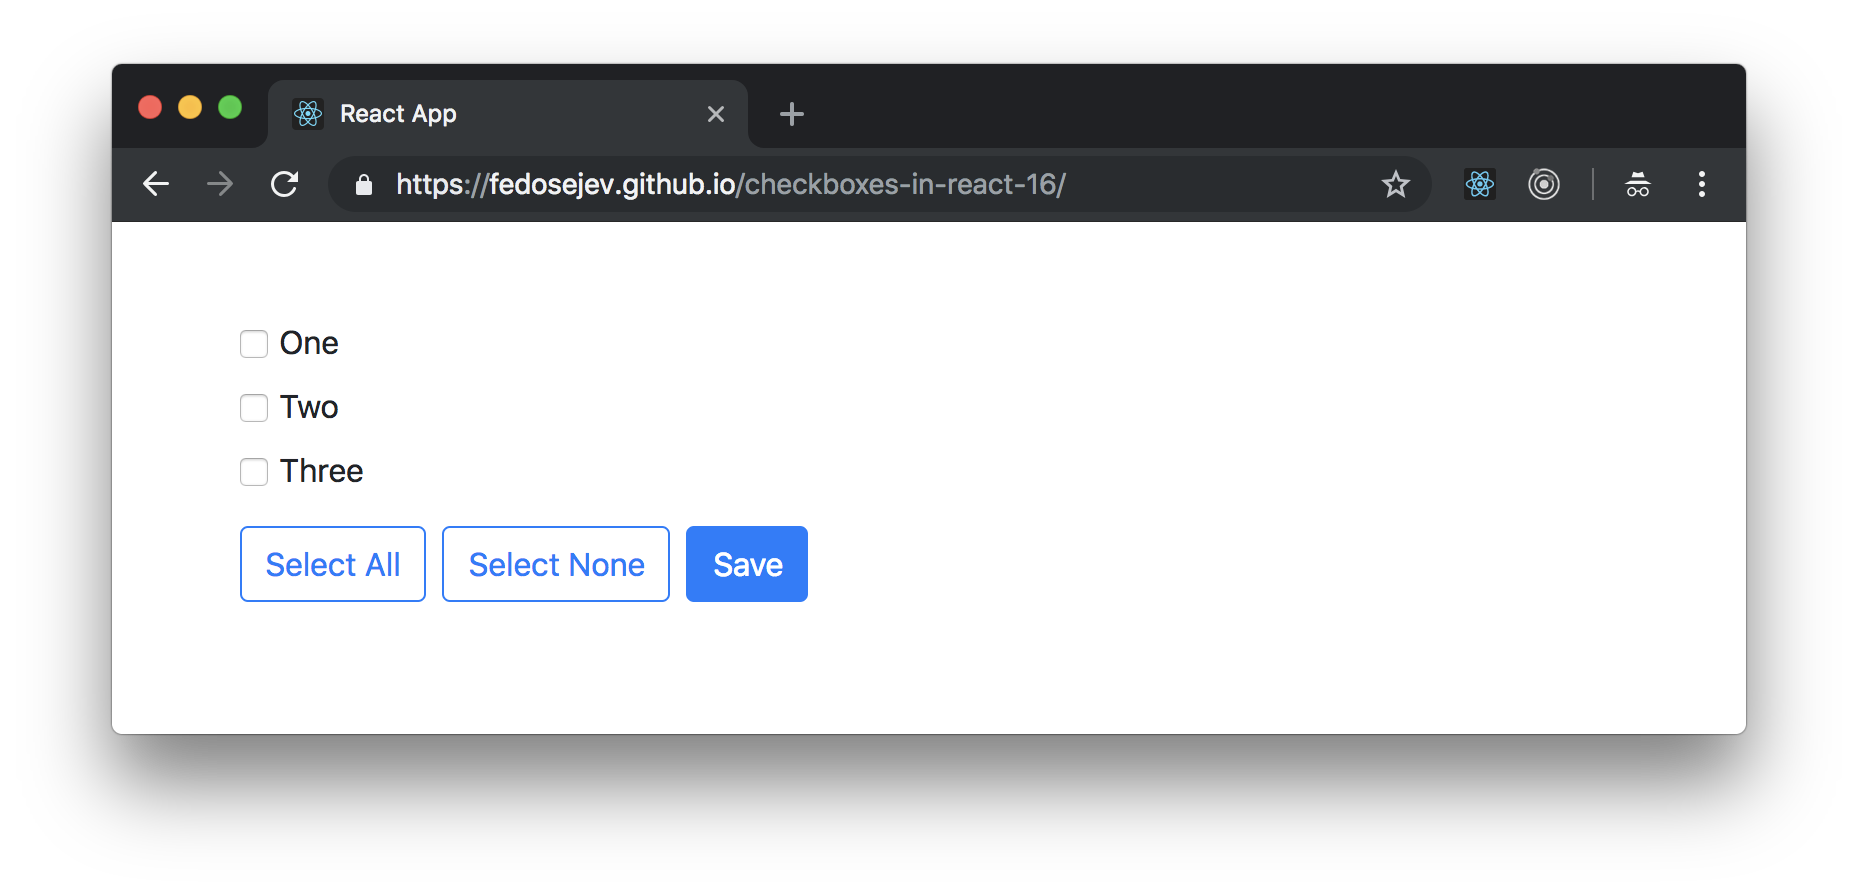
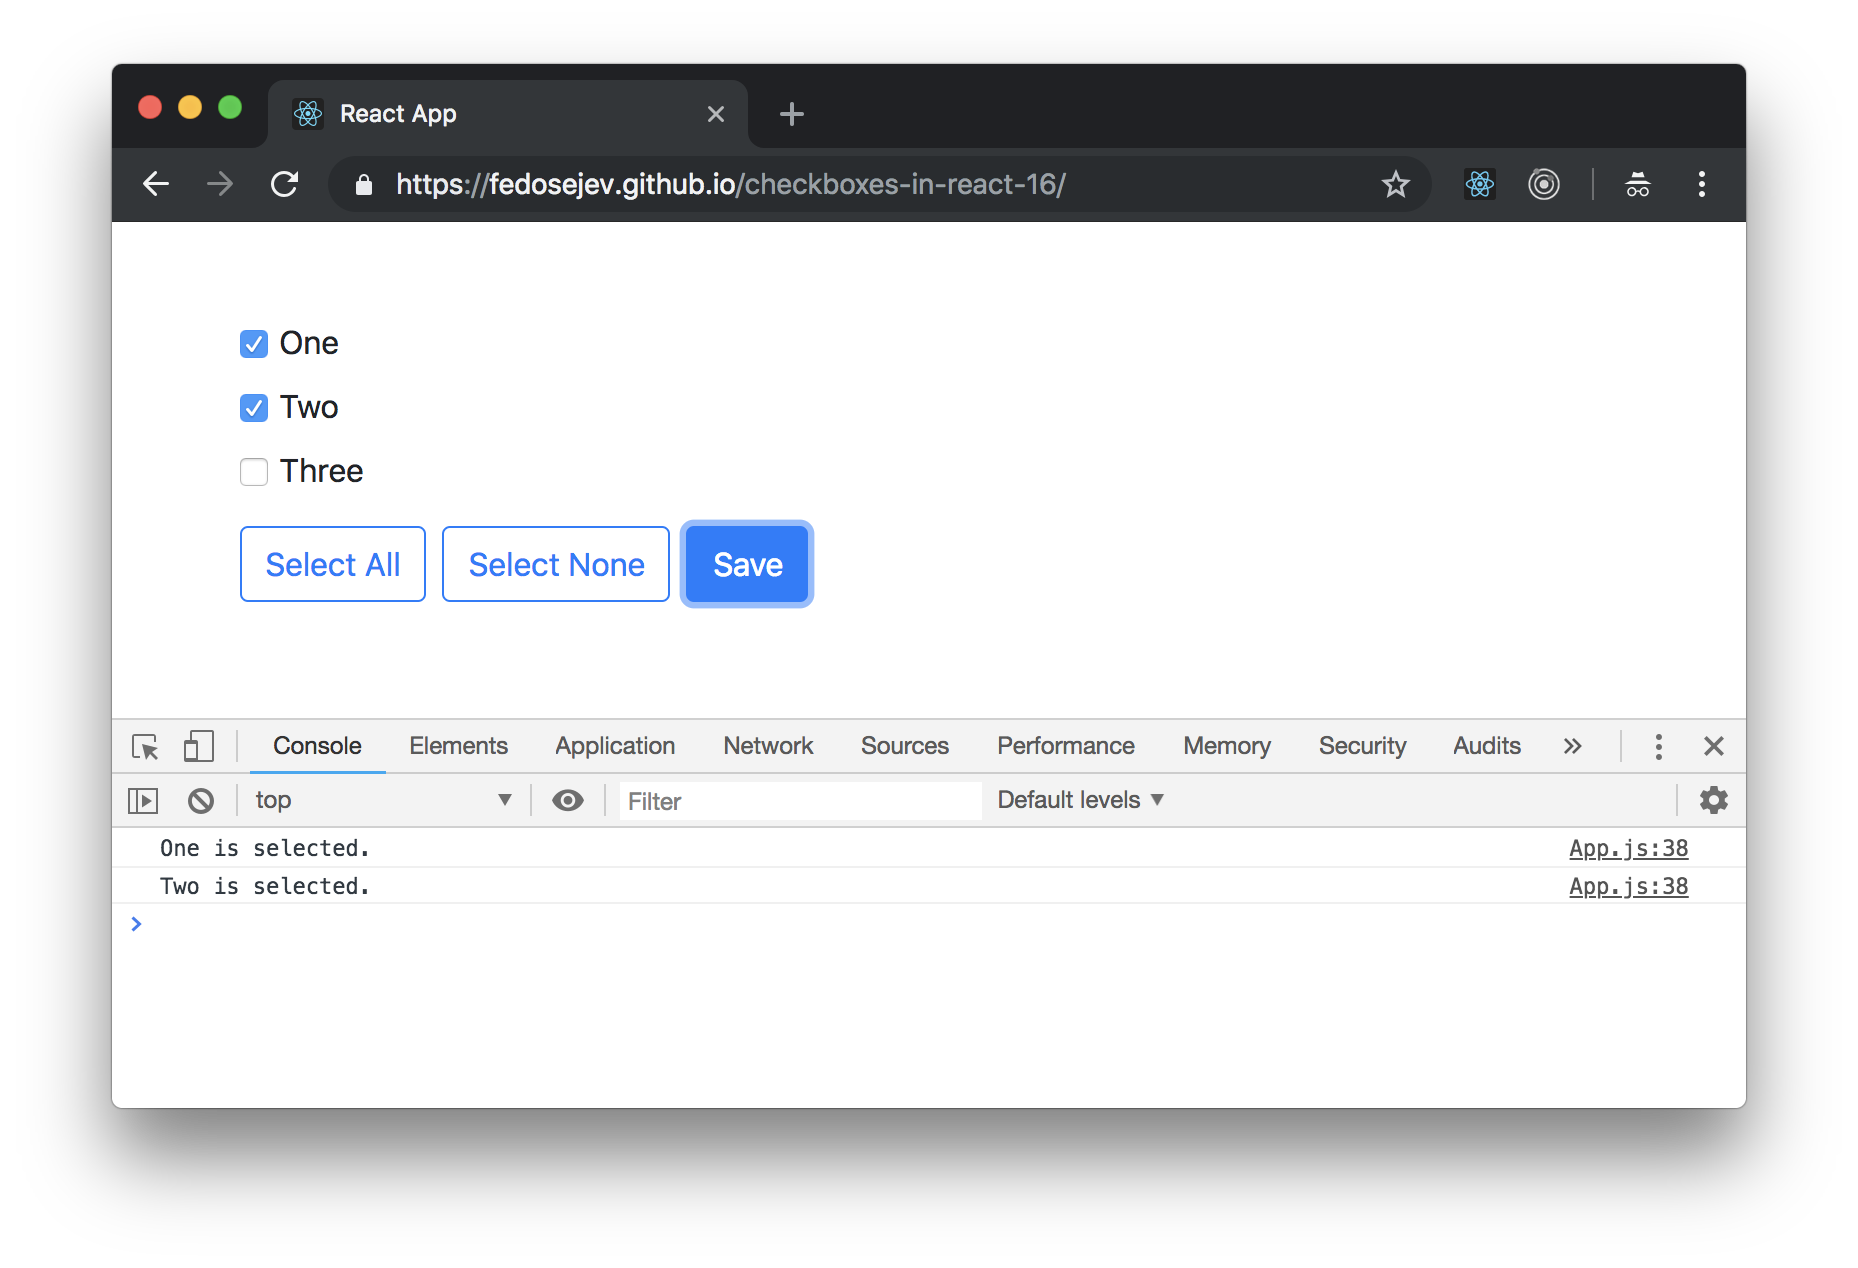
Our application is going to render a list of checkboxes with labels and a Save button. We can toggle checkboxes and click Save button. We will then see in the Developer Tools Console log messages that tell us which checkboxes were checked:
Our application will be made of two React components:
AppCheckbox
App component is a container component - it encapsulates our entire React application, and renders three instances of Checkbox component and three buttons - Select All, Select None and Save buttons. App component also logs into the Developer Tools Console which checkboxes were checked when users click the Save button.
Checkbox component renders a checkbox with a label.
Let's create our App component first:
import React, { Component } from "react";
import Checkbox from "./Checkbox";

const OPTIONS = ["One", "Two", "Three"];

class App extends Component {
  state = {
    checkboxes: OPTIONS.reduce(
      (options, option) => ({
        ...options,
        [option]: false
      }),
      {}
    )
  };

  selectAllCheckboxes = isSelected => {
    Object.keys(this.state.checkboxes).forEach(checkbox => {
      // BONUS: Can you explain why we pass updater function to setState instead of an object?
      this.setState(prevState => ({
        checkboxes: {
          ...prevState.checkboxes,
          [checkbox]: isSelected
        }
      }));
    });
  };

  selectAll = () => this.selectAllCheckboxes(true);

  deselectAll = () => this.selectAllCheckboxes(false);

  handleCheckboxChange = changeEvent => {
    const { name } = changeEvent.target;

    this.setState(prevState => ({
      checkboxes: {
        ...prevState.checkboxes,
        [name]: !prevState.checkboxes[name]
      }
    }));
  };

  handleFormSubmit = formSubmitEvent => {
    formSubmitEvent.preventDefault();

    Object.keys(this.state.checkboxes)
      .filter(checkbox => this.state.checkboxes[checkbox])
      .forEach(checkbox => {
        console.log(checkbox, "is selected.");
      });
  };

  createCheckbox = option => (
    <Checkbox
      label={option}
      isSelected={this.state.checkboxes[option]}
      onCheckboxChange={this.handleCheckboxChange}
      key={option}
    />
  );

  createCheckboxes = () => OPTIONS.map(this.createCheckbox);

  render() {
    return (
      <div className="container">
        <div className="row mt-5">
          <div className="col-sm-12">
            <form onSubmit={this.handleFormSubmit}>
              {this.createCheckboxes()}

              <div className="form-group mt-2">
                <button
                  type="button"
                  className="btn btn-outline-primary mr-2"
                  onClick={this.selectAll}
                >
                  Select All
                </button>
                <button
                  type="button"
                  className="btn btn-outline-primary mr-2"
                  onClick={this.deselectAll}
                >
                  Deselect All
                </button>
                <button type="submit" className="btn btn-primary">
                  Save
                </button>
              </div>
            </form>
          </div>
        </div>
      </div>
    );
  }
}

export default App;
First, let's focus on its render function:
render() {
  return (
    <div className="container">
      <div className="row mt-5">
        <div className="col-sm-12">
          <form onSubmit={this.handleFormSubmit}>
            {this.createCheckboxes()}

            <div className="form-group mt-2">
              <button
                type="button"
                className="btn btn-outline-primary mr-2"
                onClick={this.selectAll}
              >
                Select All
              </button>
              <button
                type="button"
                className="btn btn-outline-primary mr-2"
                onClick={this.deselectAll}
              >
                Deselect All
              </button>
              <button type="submit" className="btn btn-primary">
                Save
              </button>
            </div>
          </form>
        </div>
      </div>
    </div>
  );
}
We see three div elements with class names that you might recognize if you're familiar with Bootstrap. Bootstrap helps us create layout for our page.
Now let's focus on the form element:
<form onSubmit={this.handleFormSubmit}>
  {this.createCheckboxes()}

  <div className="form-group mt-2">
    <button
      type="button"
      className="btn btn-outline-primary mr-2"
      onClick={this.selectAll}
    >
      Select All
    </button>
    <button
      type="button"
      className="btn btn-outline-primary mr-2"
      onClick={this.deselectAll}
    >
      Deselect All
    </button>
    <button type="submit" className="btn btn-primary">
      Save
    </button>
  </div>
</form>
Inside of our form element we call this.createCheckboxes function that creates three instances of a Checkbox component. We'll see how this function works in a moment. It's important to recognise that here we're creating our instances of a Checkbox component dynamically. If you're not familiar with this approach, then please read this tutorial first.
We then create three instances of button element.
The first Select All button will select all checkboxes:
<button
  type="button"
  className="btn btn-outline-primary mr-2"
  onClick={this.selectAll}
>
  Select All
</button>
When it's clicked it calls this.selectAll function. Later we'll see what that function does.
The second Deselect All button will deselect all checkboxes:
<button
  type="button"
  className="btn btn-outline-primary mr-2"
  onClick={this.deselectAll}
>
  Deselect All
</button>
When it's clicked it calls this.deselectAll function. Later we'll see what that function does.
The third Save button is of type submit which will submit our form when user clicks on it:
<button type="submit" className="btn btn-primary">
  Save
</button>
In our form element we're telling React to call this.handleFormSubmit function when user submits the form:
<form onSubmit={this.handleFormSubmit}>
{/* ... */}
</form>
Next let's take a look at how exactly we're creating our instances of Checkbox component dynamically. Here is our createCheckboxes function:
createCheckboxes = () => OPTIONS.map(this.createCheckbox);
It iterates over OPTIONS array and calls this.createCheckbox function for each item in that array. Where is OPTIONS array coming from and what is it for?
In our App.js file before declaring our App component, we've create OPTIONS constant that references an array of three items:
const OPTIONS = ["One", "Two", "Three"];
['One', 'Two', 'Three'] - these are labels for our checkboxes. This array represents data that will dictate how many checkboxes we need to render and what their labels will be. For the purpose of this tutorial, we declare this data in our React component file, but in a real world web application this data can be received from a server or imported from another file.
Now we know that createCheckboxes function calls this.createCheckbox function for each label in OPTIONS array. createCheckboxes function also returns an array of three instances of Checkbox component. That's because we call this.createCheckbox three times and each time it creates and returns an individual Checkbox component instance:
createCheckbox = option => (
  <Checkbox
    label={option}
    isSelected={this.state.checkboxes[option]}
    onCheckboxChange={this.handleCheckboxChange}
    key={option}
  />
);
Each Checkbox component instance gets four properties:
label- the text that you see rendered next to a checkbox. This value is coming from ourOPTIONSarray.isSelected-trueorfalsevalue that tellsCheckboxcomponent whether it should render selected or deselected checkbox.onCheckboxChange- a reference tothis.handleCheckboxChangefunction. Every time user selects/deselects a checkbox React callsthis.handleCheckboxChangefunction passingchangeevent to it. We'll see how it works in a moment.key- as you already know, each dynamically created React component instance needs akeyproperty that React uses to uniquely identify that instance.
Now we understand how we create and render three checkboxes in our application. What happens when user selects/deselects our checkboxes? As you will see later - every time user changes checkbox's state - our this.handleCheckboxChange is called.
It's a good time to zoom out for a minute and talk about how our application works. There are a couple of questions we need to ask:
- Each checkbox has two states: selected and deselected. Which React component is responsible for managing that state?
- How do we know which checkboxes are selected at any given moment in time?
We want to keep our application as simple as possible, so our App component will be responsible for maintaining the state of each checkbox. Meaning: each Checkbox component will be a controlled component that is not responsible for managing it's own state. Instead Checkbox component will receive isSelected prop, render input element based on that prop and call onCheckboxChange callback prop when user interacts with it.
Have you noticed that we need to maintain the state of each checkbox for two different purposes? Let's take a closer look, this is important. In React, a form element that users can interact with has to have a state in order be rendered differently in response to user actions. That what makes a React component interactive: it's rendered one way, then user interacts with it and now it's rendered in another way. We know that changes in component's props or state will force React to re-render that component. Without that state, form elements will be useless, because they will always render the same way, regardless of what user does. They will feel unresponsive to a user. You can see that the purpose of that state is mechanical - it's purpose is to make an interactive UI component simply work. That's it.
Most often than not, you wouldn't render a UI component without a business reason. Why do we want to render a checkbox as part of our form? Well, we want to know user's preference for whatever choice options that checkbox represents and then submit it as part of the form. But where do we store that user preference before submitting the form? Notice that this user preference is our business state or our application state that lives in our React application. Does it mean that it should live in a component's state? No, as it's not React's responsibility to manage application's state. We can use Redux library, or plain JavaScript for that.
However, in this tutorial, we'll recognize that the two states: our UI state that we need for our checkboxes to work and our application state that we need for our application to make business sense - those two states with two different purposes can be represented with a single state. This state will live in the App component.
Why do we want to store state of the each checkbox in the parent App component instead of letting each checkbox to maintain it's own state? In the previous version of this tutorial I've made a case that the parent App component doesn't need to know the state of each checkbox. It needs to know which checkboxes are selected in order to log them in a console when user clicks the Save button. However, in one of the comments Juan Leone asked how to select or deselect all checkboxes at once:
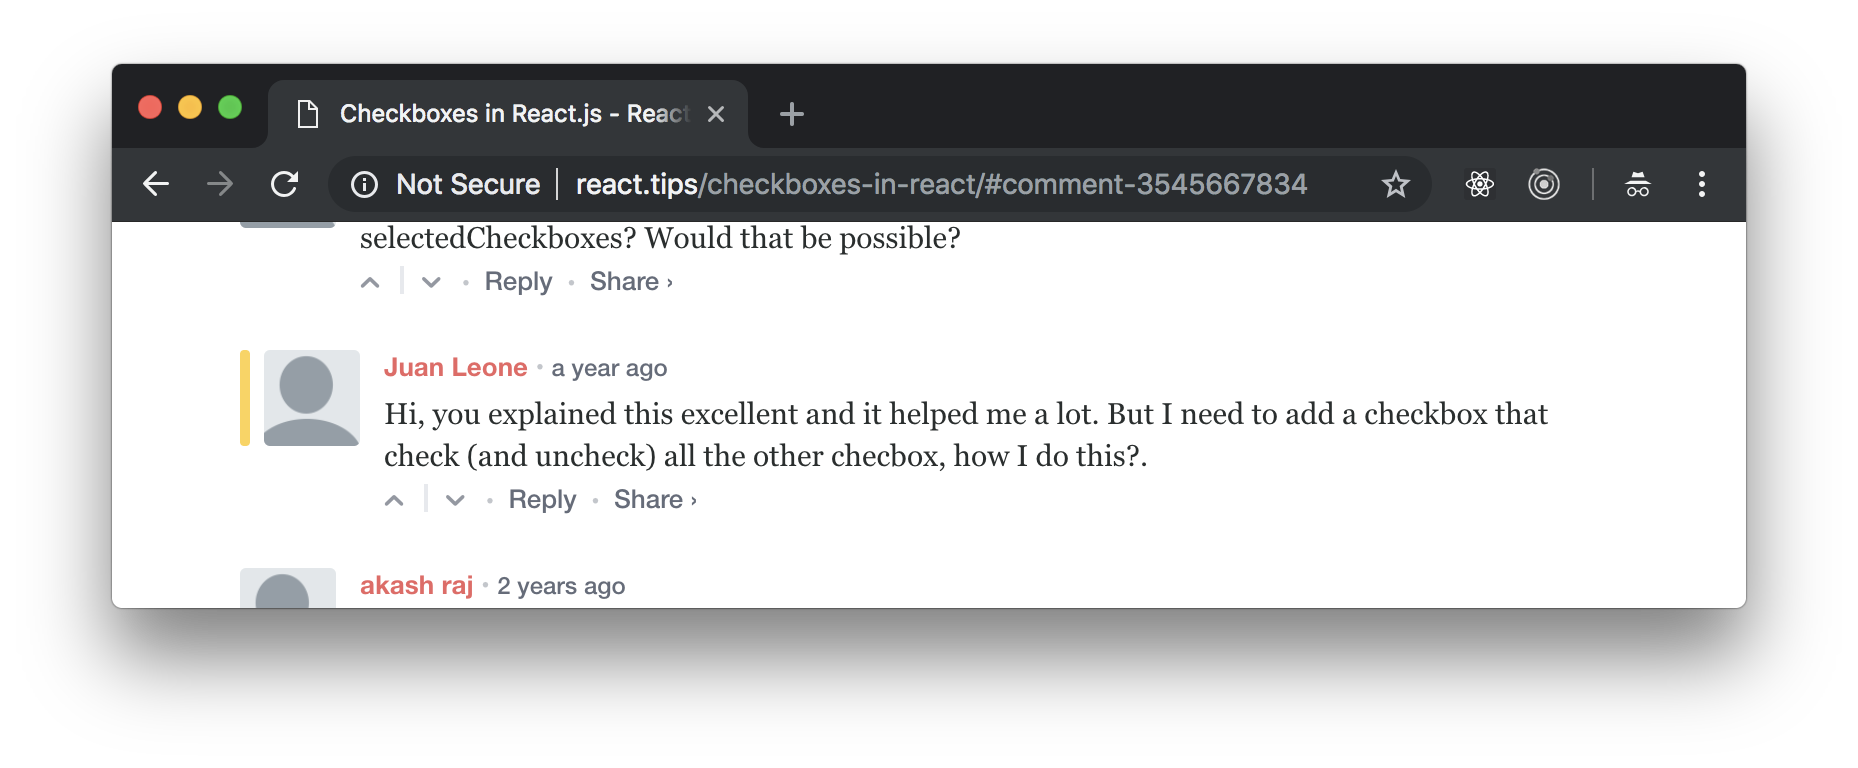
The question is how the App component can control the state of it's child Checkbox components, without managing their state? The short answer is: it can't. When you make a React component stateful, the state becomes private to that component only. Parent components can't access it directly. Child components can only get access to it via props. That's one of the core ideas in React and your architectural challenge is to decide which components own what state.
In this tutorial I've added a new business requirement for our application: we need to have a button that selects all checkboxes and a button that deselects all checkboxes. This requirement will address Juan's comment and give you an example of how to manage application state in a parent component.
Let's declare our application state in the App component:
state = {
  checkboxes: OPTIONS.reduce(
    (options, option) => ({
      ...options,
      [option]: false
    }),
    {}
  )
};
We use class property state to set the initial state of the App component.
Don't get scared by that reduce function:
OPTIONS.reduce(
  (options, option) => ({
    ...options,
    [option]: false
  }),
  {}
)
All it does is transforms ["One", "Two", "Three"] array to { "One": false, "Two": false, "Three": false } object. This object is the shape of our state that represents two states: UI state for each Checkbox component and an application state for our entire application. In our state false means that user hasn't selected the checkbox and we want every checkbox to be initially rendered as unchecked. Option name represents the name of a checkbox, i.e. "One", "Two", "Three".
- The UI state answers the question: which checkbox should I render selected and which - deselected?
- The application state answers the question: which checkboxes user selected?
As you can see those two states are tightly coupled and related - you can't render selected checkbox and at the same time assume that user's intention is to have it unselected. If you can think of a business case where your UI state will differ from your application state - you need to maintain them separately as two different states.
Now we know the shape of the App component's state:
{
  One: false,
  Two: false,
  Three: false,
}
Let's look at the this.handleCheckboxChange function and understand how to change this state when user interacts with our checkboxes:
handleCheckboxChange = changeEvent => {
  const { name } = changeEvent.target;

  this.setState(prevState => ({
    checkboxes: {
      ...prevState.checkboxes,
      [name]: !prevState.checkboxes[name]
    }
  }));
};
It gets a changeEvent object and accesses name property that represents which checkbox is being toggled. Now what exactly handleCheckboxChange function does? It calls this.setState to request an update of the state and passes a function that gets a previous state and returns a new state that is created based on the previous state. The name property that comes with the changeEvent object becomes the key in our new state object and the value for that key becomes the opposite value of the value in the previous state:
checkboxes: {
  ...prevState.checkboxes,
  [name]: !prevState.checkboxes[name]
}
This is how we toggle a checkbox in our application state. The handleCheckboxChange function toggles state of an individual checkbox. How do we change state for all checkboxes at once?
Let's look at our this.selectAll and this.deselectAll functions.
The this.selectAll function calls this.selectAllCheckboxes and passes true as an argument:
selectAll = () => this.selectAllCheckboxes(true);
While this.deselectAll function calls this.selectAllCheckboxes and passes false as an argument:
selectAll = () => this.selectAllCheckboxes(false);
Let's take a look at what this.selectAllCheckboxes does:
selectAllCheckboxes = isSelected => {
  Object.keys(this.state.checkboxes).forEach(checkbox => {
    // BONUS: Can you explain why we pass updater function to setState instead of an object?
    this.setState(prevState => ({
      checkboxes: {
        ...prevState.checkboxes,
        [checkbox]: isSelected
      }
    }));
  });
};
It iterates over the checkboxes that we have in our application state and for each checkbox it updates it's state to the value of the isSelected parameter. Can you explain why we must pass an updater function to this.setState here, instead of an object?
Now we have a React application that renders a form with three checkboxes and three buttons. What happens when a user clicks the Save button? Our form is submitted and our handleFormSubmit function is called by React:
<form onSubmit={this.handleFormSubmit}>...</form>
Let's take a look at handleFormSubmit function:
handleFormSubmit = formSubmitEvent => {
  formSubmitEvent.preventDefault();

  Object.keys(this.state.checkboxes)
    .filter(checkbox => this.state.checkboxes[checkbox])
    .forEach(checkbox => {
      console.log(checkbox, "is selected.");
    });
};
First it prevents the default behavior of a form's submit event:
formSubmitEvent.preventDefault();
And then it iterates over all checkboxes in our application state, filters the ones that are selected and logs their name in a console:
Object.keys(this.state.checkboxes)
  .filter(checkbox => this.state.checkboxes[checkbox])
  .forEach(checkbox => {
    console.log(checkbox, "is selected.");
  });
Now you know what our App component does and how it works.
Next let's take a look at our Checkbox component:
import React from "react";

const Checkbox = ({ label, isSelected, onCheckboxChange }) => (
  <div className="form-check">
    <label>
      <input
        type="checkbox"
        name={label}
        checked={isSelected}
        onChange={onCheckboxChange}
        className="form-check-input"
      />
      {label}
    </label>
  </div>
);

export default Checkbox;
Our Checkbox component is a stateless functional component that receives three props:
labelis a text that represents the name of the checkbox and it also rendered next to that checkbox.isSelectedis a boolean value that tells React whether that checkbox should be rendered selected or deselected.onCheckboxChangeis a callback function that React will call when a user selects or deselects the checkbox.
The Checkbox component renders div element with a Bootstrap class name that we use for styling. Inside of it we have label element with two children:
inputelementlabeltext
The input element renders the checkbox. It has 4 properties:
type- the type of the input:checkboxin our case.name- the name of the input: an option name passed as a prop from a parentAppcomponent. It will be eitherOne,TwoorThree.checked- whether the checkbox is selected or not. The value comes from the prop from a parentAppcomponent.onChange- thechangeevent handler:onCheckboxChangefunction will be called when user selects or deselects the checkbox.
If you read this tutorial, you will recognize that our input element is a controlled component because we "control" the checked property by providing our own value that comes from isSelected prop. If you're not sure about the difference between controlled components and uncontrolled components, then I recommend you read this tutorial.
What happens when a user toggles our checkbox? React calls our onCheckboxChange callback function that references handleCheckboxChange function in a parent App component. handleCheckboxChange will update App component's state and the App component will re-render all Checkbox components.
That's how our App component will always know which checkboxes are selected at any given moment in time.
And now you know how to use checkboxes in React.js!
Notice that this solution works great for our specific requirements. If you have different requirements you might need to think of a different way of creating checkboxes.
Thank you for reading this React tutorial!
Please take a look at the complete source code on GitHub and the live version of our app.
I hope you've enjoyed this tutorial and I would love to hear your feedback in the comments. You can get in touch with me via Twitter and email.